Tuesday, May 22, 2012

Summer Project Progress

With my first year at BU finished, I am now free to start as many projects as I think I can complete in the next four months. I have two new projects completely established and started, two tentative ventures having to do with watercraft, and of course that pesky hub motor scooter I've been 'working on' for the past ...10 months or so.

One of the established projects will remain off this blog until a certain friend has a birthday. The other project is a gas-to-electric conversion of a minibike which was kindly donated to me by Charles.

Stripped of all the fancy stuff.
The stator is Delta-wound, which means that if you uncoiled all the teeth and didn't remove any of the electrical connections, you'd have a triangle. My first hub motor is wound in a Wye configuration where all three phases meet in the middle. Delta-wound stators tend to spin faster while producing less torque per amp. If you had two stators of identical dimensions, number of wraps, voltage, etc., but one was wound Delta and the other was wound Wye, the Delta would produce less torque and higher rpm by a factor of √3.

Standard procedure for brushless motors is to open them up to look for stray windings, bad connections, or misaligned magnets. Boy, did I find some misaligned magnets. A quarter of the forty magnets in the can had come off and had clumped together in a few locations. A jig for positioning the magnets was lasercut from .25" acrylic. I wanted it to be clear so I could see both ends of the magnets. The acrylic worked very well, and after the epoxy between the magnets and the can had set for about two hours, I added some epoxy between the magnets to prevent slippage side to side.


N = 51... ?
Magnet meeting
Magnets removed, old epoxy removed, can surface sanded to better accept new epoxy.
Jig for positioning magnets.
Epoxy added to the gaps between magnets to help prevent them from sliding. Looks good! 

After the magnet epoxy was allowed to cure for 24 hours, I brought it to the Edgerton Center shop to try to use a lathe to gently lower the can onto the stator. Credit for this idea goes to Ed Moriarty, and the hands you see in the pictures are those of Mark Belanger, who helped me figure out how to do this and offered to do the procedure due to my damaged left wrist. Mark came up with the idea of turning the end of a shaft to a point that would fit into the tapped hole at the front of the shaft connected to the can. The shaft was held in the chuck on the right, and the can was firmly held in the chuck on the left. The stator assembly was placed over the shaft and was advanced so the two shafts met and could not move. The stator was carefully moved towards the can and was 'sucked' into position while maintaing the proper alignment thanks to the lathe setup. The motor was then fully pushed into its bearings with the tailstock.

Note: lathe was not spinning during these photos. 


It looks the same as it did before, but here's that picture again.


Sunday, April 29, 2012

Snowflakes in April...

Yesterday I designed some 'snowflakes'. I guess the sunny yet cold weather confused me. I designed three of them, but was only able to cut one. The white dot is actually a quarter for size comparison.


3-D?


Winter is totally right around the corner.

Saturday, March 31, 2012

The Death of Dethscooter and The Life and Death of Schlongboard

March 3, 2012 marked the end of an era. Dethscooter got a taste of its own medicine, and for the safety of the general public, will never return to life.

The legend goes that a young knight was travelling from his quarters to his place of work on a warm saturday morning. Everything was normal until suddenly, in the middle of a large intersection, his mode of transport (called Dethscooter) ceased to move forward and made the most unpleasant of grinding noises. Bravely he dismounted and began to assess the failure, but he was unable to do so because a cloud of thick red smoke began to pour from the belly of his noble steed and made it impossible to see! Fearing that his Lithium Polymer battery had ruptured, our hero bravely went into the smoke and disconnected it from the main control board! Flames shot out of the beast, and a small thunderstorm formed in the space above the smoldering remains. When the battle was over, our knight was unharmed but was forced to progress to work on foot, dragging his deceased friend alongside him.

Inside the realm of 4-409, Dethscooter was disassembled to find that one row of FETs had shorted out and caused the electrical fire, which resulted in enough heat and/or current to desolder one of the motor leads. This was most likely caused by the massive amount of dirt and apparently electrically conductive grime that got in the electronics bay.

Smoldering remains.

Shouldn't that be connected?
Yeah, it should be connected.

60A fuse did its job!


Wall of Shame

Melted row of FETs


Now that Dethscooter was out of commission, our knight needed another form of transportation to get around his massive college campus. He settled for a skateboard he had owned since he was 12, and it would serve him well for one week. This period of happiness was cut short by a sudden urge to make his board better in one way or another. Our protagonist decided he wanted to increase the wheel size for a smoother ride and make the deck lower to the ground to make kicking easier. The project was called Schlongboard, or short-longboard.

The original 54mm skate wheels were swapped out for 72mm inline skate wheels, and the trucks were both moved to the slanted edges to allow for more flex in the board and a lower board height. Everything was going great: the ride was smooth, the friction was minimal, and the turning radius hadn't been severely affected. Then came The Jump Test. The knight jumped up and down on his board, and was satisfied with the springiness of it. He continued jumping to push its limits, and indeed they were pushed. A fatal blow to the middle of the board snapped it not-so-cleanly in two, and all was lost. No photos were taken before Schlongboard's demise.

Skateboards! Yeah!


Okay, NOW it's time to really get working on Name TBA scooter.


Wednesday, February 15, 2012

Custom iPhone Case

Last Friday I designed a case for my iPhone 4. My goals for this case are for it to be 3d printed to test for fit and functionality, and then machined from aluminum on the Haas CNC in the basement of the manufacturing building. We'll see if that happens...

Front
Left side
Glamour shot


The case adds about .05" to each side of the phone and squares off the corners. The pieces are held together by four #1-72 machine screws. Hopefully I'll find a tap for that size, but if I don't it's not the end of the world. I'll post updates when it gets made.

Sunday, February 5, 2012

Donut/Torus Redesign and Upgrade

Back in September, I saw a design for a torus made of paper on the internet, and decided to take on the project. After four hours of meticulous cutting and fitting the pieces together, I came out with this. A neat feature that I discovered accidentally is that it folds flat!


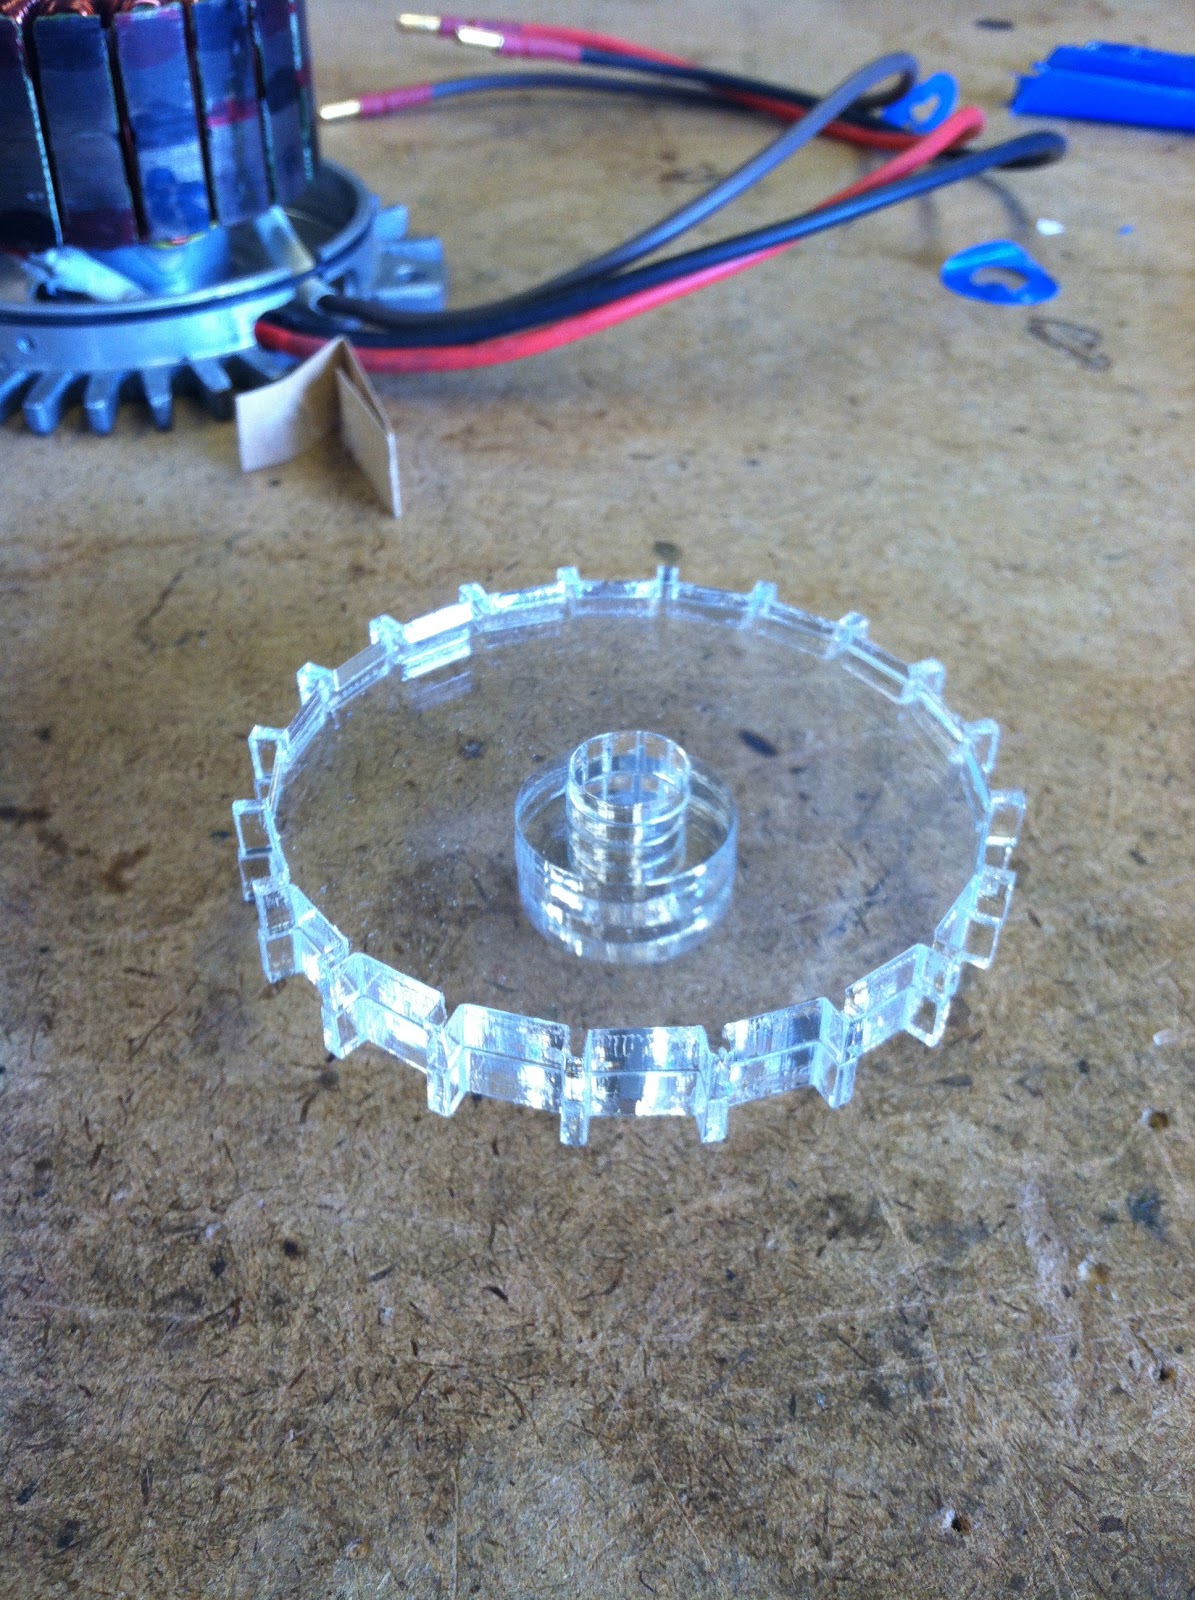
Last week I was reminded of this project at Peter Mui's Fixit Clinic that was hosted by The Saturday Thing and decided to CAD the design up. Unfortunately my image-to-.dxf software didn't like the file I had for the paper torus, so I ended up making the shapes freehand in AutoCAD. This took about an hour, but time lost in design was made up in cutting time. I scaled the drawing up so the outside diameter of the torus became about 9 inches. The slots are designed for .093" acrylic, and luckily we had a big sheet on hand. To my pleasant surprise, I hadn't screwed anything up in the design and everything fit perfectly! After taking a few pictures of the clear creation, we shut off the lights in the lab, took some of the Aurora Bear bases, and lit it from below.


Monday, January 9, 2012

Stator Wrapping Complete!

It's a milestone in an engineer's life when he completes the wrapping of his first stator for a custom brushless D motor. I'm proud to announce that I have hit that milestone, and my thumbs are killing me. First step was to make a diagram for wrapping, which can be found in this post. Over the course of the next 10 hours (not consecutive), thumb and finger health decreased steadily and a few pictures were taken. To help you understand the numbers in the captions, one "Phase" consists of two pairs of two strands (four strands total) each wrapped around two teeth (four teeth total). The A phase consists of two teeth wound clockwise and two teeth wound counterclockwise. Put three of these phases together in the right order with the right orientation, and you've got yourself a motor.

1/4 of phase A wrapped
1/2 of phase A and 1/2 of B wrapped
Phases A and B complete, 1/2 of Phase C
One more tooth to go!
DONE. GORGEOUS.

Finishing this felt amazing (as I loudly proclaimed in N52 when I completed the last turn) despite my throbbing fingers. I've technically been working on this project since late August, and I'm finally getting somewhere. Shortly after I posted this photo to facebook, Shane and Charles displayed their amazement with the quality of the wraps, which is apparently pretty good. Which was what I was aiming for. The next step will be machining the endcaps and spacers to house the stator and rotor. Too bad I'm going back to school in a week and I'm helping the MIT Marine Robotics Team with some stuff until then.

Looks like it's time to get reacquainted with the machine shop. Let the hub motor season begin.

Thursday, January 5, 2012

Stator Wrapping and Xbox Case Mod Preview

I finally got off the ground with (name TBA) scooter's drive system. After many months of planning and procrastination, I began wrapping my stator... and boy do my thumbs hurt. Shane told me before I began that there is a spectrum of quality of stator wrapping from neat and meticulous to quick and dirty. I chose to pursue the neat and meticulous path because a more tightly wound stator would be a more powerful one. A side effect of this path is that my right thumb and forefinger are now throbbing from pulling as hard as I could on wire for an hour straight. I am not looking forward to wrapping another 11 teeth, but it must be done!

This just popped into my head: I might call this project Time Scooter. Because I've been working on it since August. We'll see if the name sticks.

Here are some pictures from the day:

Wrapping configuration diagram
Wrapping two strands at the same time is tough.

Another project I've been doing on the side this past week is creating a clear case for my xbox made from acrylic. Unfortunately 3-402 has been (hopefully temporarily) closed before MIT's IAP starts, at which point it will be occupied full time by a class. I haven't been able to make any new parts, but I have started to model the case in SolidWorks. So far I have taken my Xbox apart four times, designed and made a prototype of the motherboard mount... and that's about it. I was aiming to complete this project before school starts again, but that might not happen because of the fabrication delay.

Let's see what this thing looks like on the inside.


What an Xbox looks like on the inside.
Might be tough to see (it's clear!) but here we have the first version of the motherboard mounting piece.

Hard drive module, disassembled
Ideally I will buy a ~120 Gb 2.5" hard drive and format it to xbox's native system so I don't have to spend exorbitant amounts of money for a tiny amount of space. The current drive was $80 for a 20 Gb USED, which I find to be absolutely ridiculous.

ALASKA UPDATE!
I just got off the phone with Ed Moriarty, who is currently in McGrath, Alaska, and he says the Aurora Bears are a huge success! The kids up there are having a great time making the bear assemblies, and even the superintendent of schools showed up to make one!